
Hey Crafties!
Paper Easter Eggs are a great craft to make specially for Easter decorations. So, in this DIY craft tutorial we are going to make some bright and colourful Easter eggs using craft paper or construction paper. They are super simple and fun to make and a great Easter craft activity for kids too.
So, let’s get started
Materials Required:
- Colour craft paper
- Pair of Scissors
- Glue
- Pencil
Instructions:
Watch the video tutorial for making Paper Easter Eggs at home.
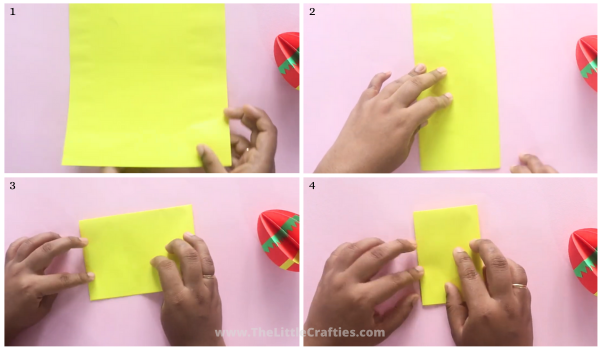
- Take a sheet of A4 size paper in the colour of your choice and fold it into half along the length.
- Again, fold it into half and then repeat.
- After folding it 3 times as shown, make another last fold.
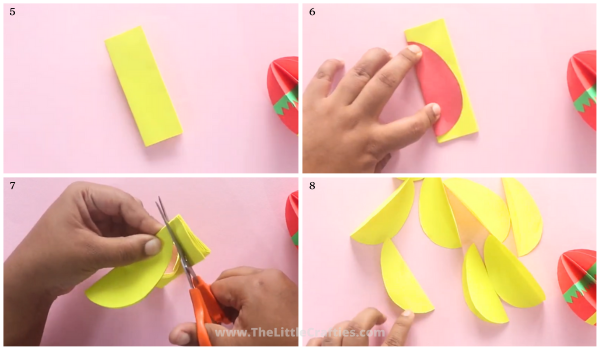
- Take an oval shaped cut out, fold it in half along the length and trace it on to the folded colour paper using a pencil.
- Using a pair of scissors, cut the traced shape to get 8 egg shaped cut outs.
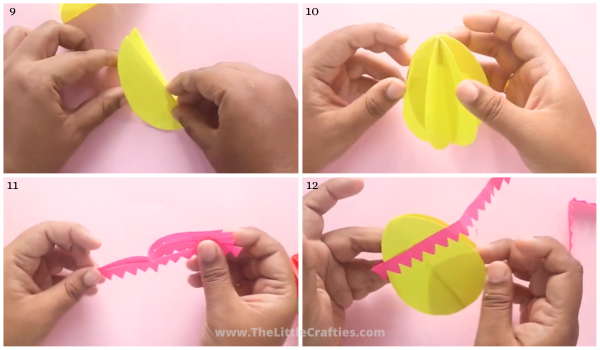
- Bow stick the paper eggs together by applying glue on one side of the fold as shown.
- You will now get a 3D paper Easter egg. Make sure to separate the edges in case they get stuck due to excess glue.
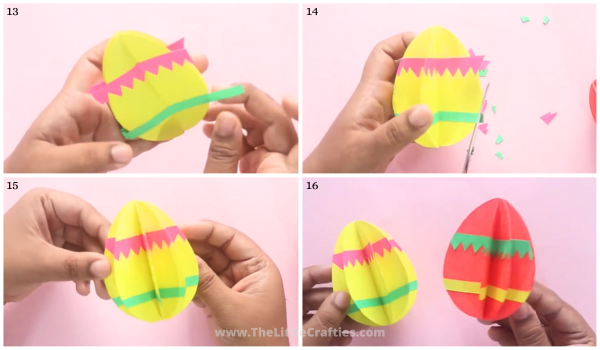
- To decorate the paper Easter eggs, cut out thin strips of different color paper in any design of your choice like zigzag, wavy or even plain.
- Carefully stick these paper strips on the paper egg we made earlier.
- Cut out the excess part of the strips using scissors and you are done.
You can use these beautiful paper Easter eggs as it is for decorating your home or attach strings to it for hanging them around. Any how these Easter eggs are super easy to make and even mess free. I am sure you will enjoy making this paper craft for Easter and even the kids will enjoy it too. You can find more such easy and kid friendly craft ideas on The Little Crafties YouTube channel. Do check it out !

 Easter Egg Card